Advertiser is one of the most basic informations in the system. You must create an advertiser before you create the offers. This part is mainly introduce how to create an advertiser. It is mainly divided into four categories: Create Advertiser, Advertiser Details, Advertiser Invoice Setting, and Affiliate Blocked.
-
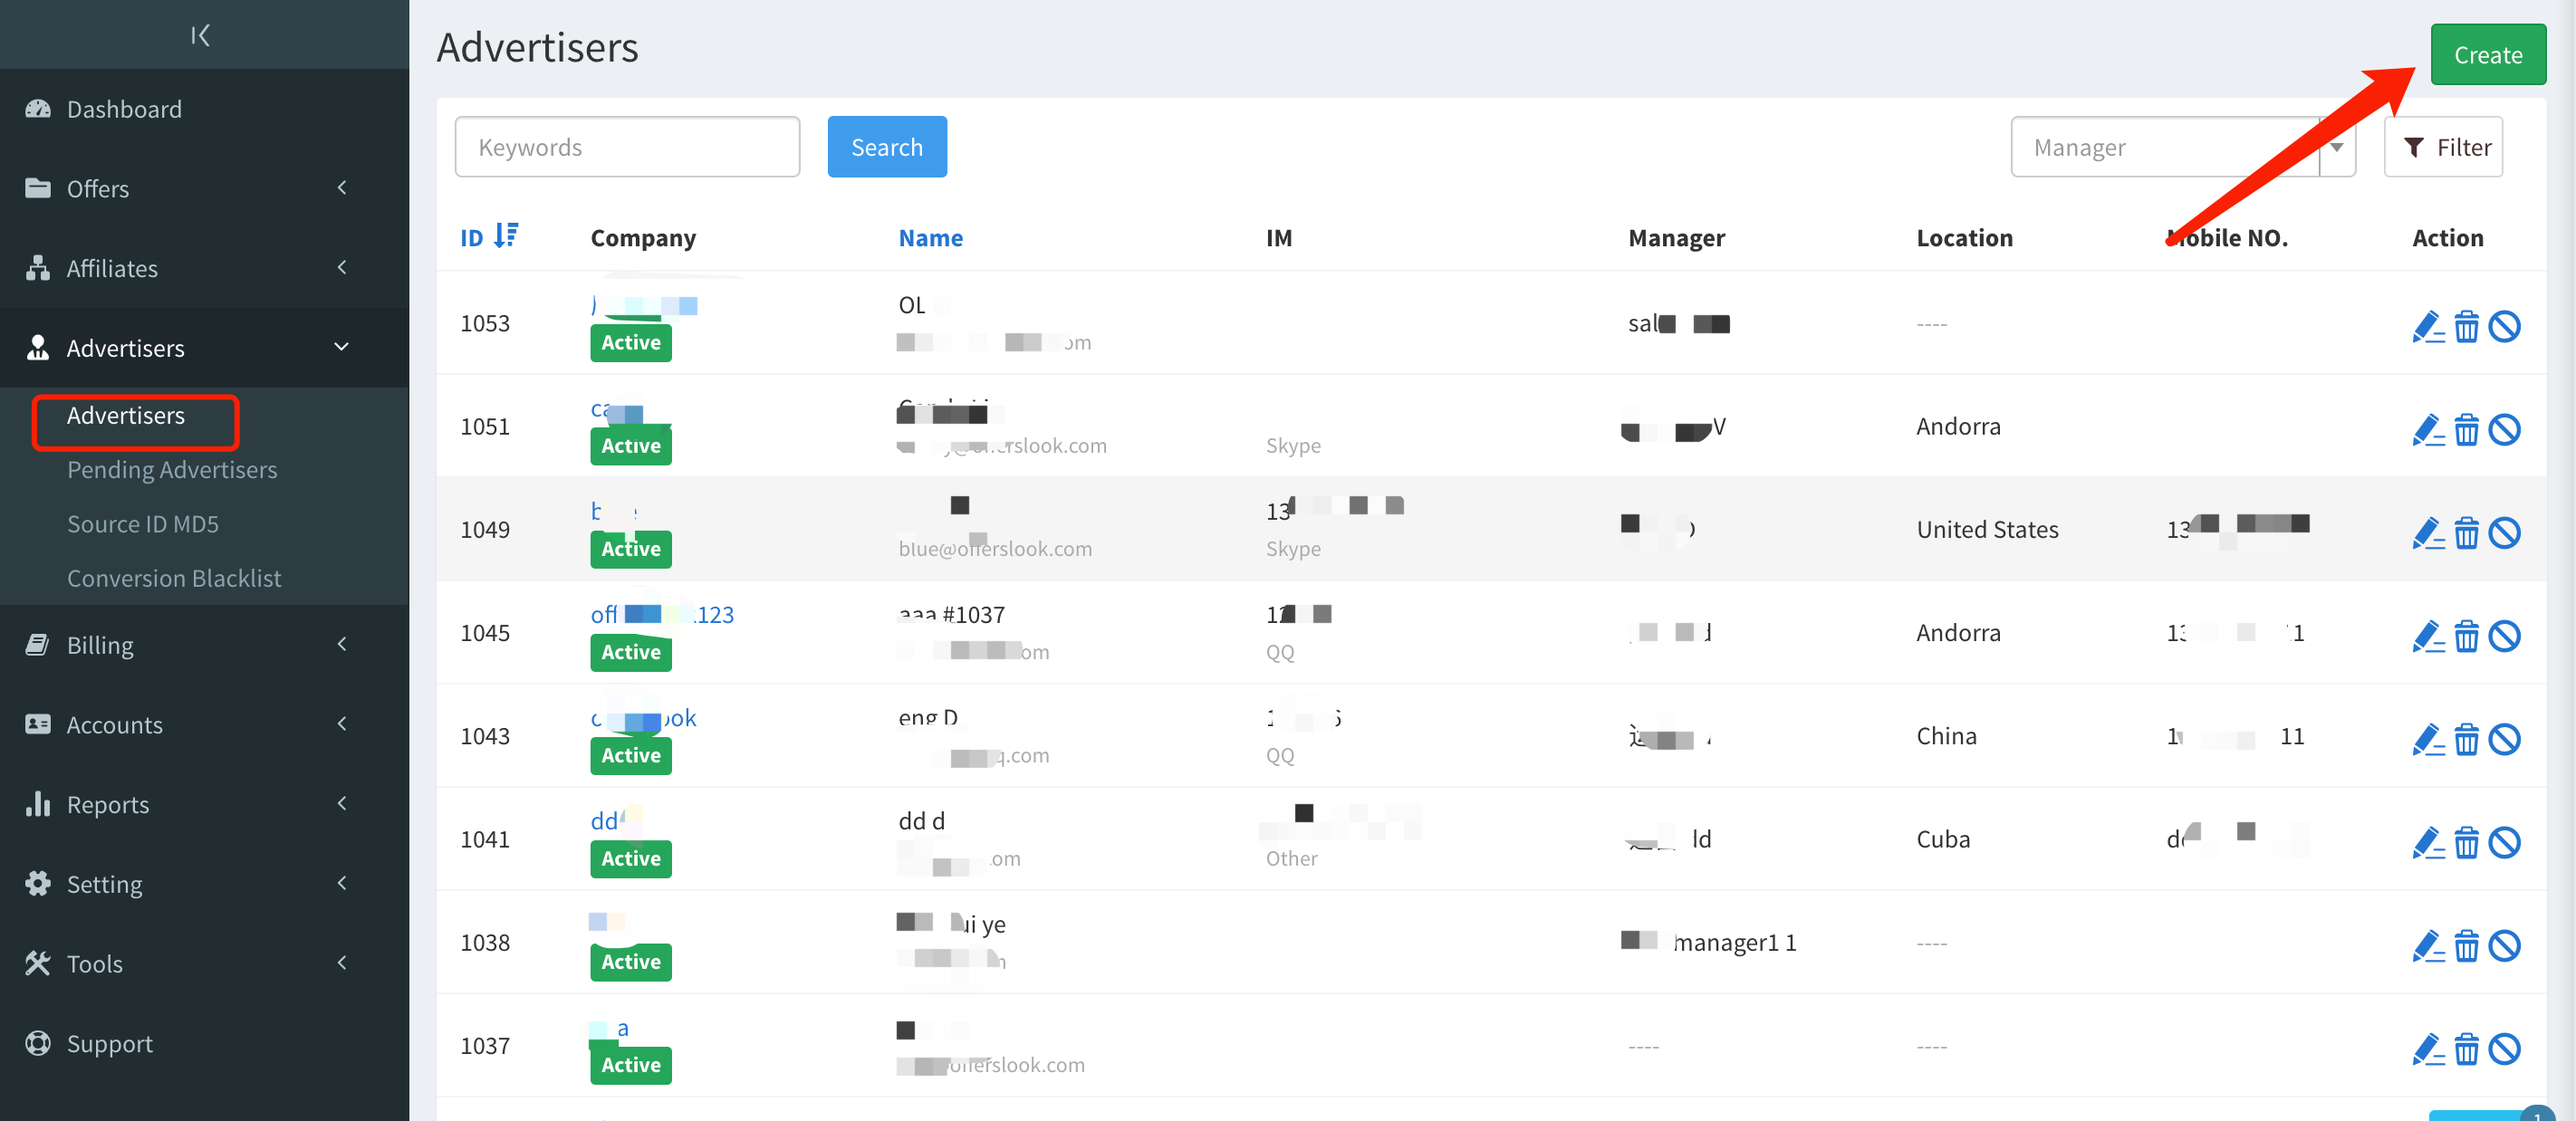
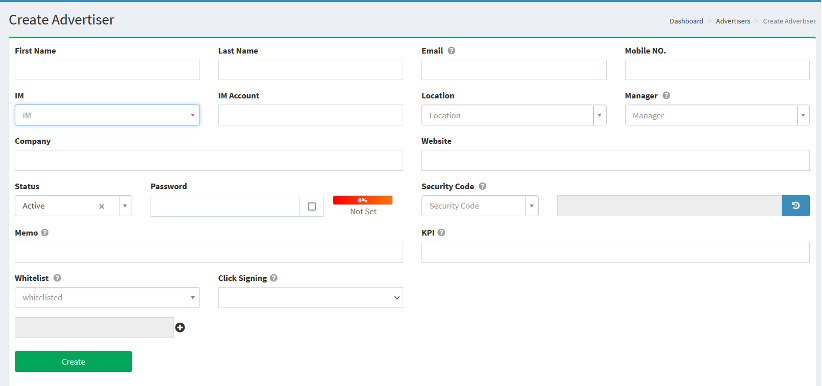
Create Advertiser
Mainly include: First Name, Last Name, Email, Mobile NO., IM, IM Account, Location, Manager, Company, Website, etc.
| Field name | Explanation |
| First Name | The advertiser's first name. |
| Last Name | The advertiser's last name. |
| The advertiser's email address. | |
| Mobile NO. | The advertiser's cell phone number. |
| IM | Choose the contact method of the advertiser, such as Skype, GTalk, QQ, Yahoo, etc. |
| IM Account | The ID of the contact. |
| Location | Region the advertiser belongs to. |
| Manager | The person who manages this advertiser. |
| Company | The advertiser's company. |
| Website | The website of the advertiser's company. |
| Status | Active: Advertiser is active. Blocked: Advertiser is blocked. Clicks and conversions will be rejected. Deleted: Advertiser is deleted and can't be active again. Clicks and conversions will be rejected. |
| Password | You can set the password for the advertiser. |
| Security Code | Yes: Added the security code to the advertiser's postback. When advertiser sends conversions, they must send the security code. Otherwise, it will be rejected by the system. For the rejected conversion, select “Invalid Security Code” in Conversion Report -> Status Remark, and click "Generate Report" to find the conversion rejected by the system because it does not carry the security code.
No: Security code is not added. |
| Memo | A memo of this advertiser. |
| KPI | Set the KPI of advertisers. |
| Whitelist | Yes: Whitelist the IPs of the advertiser. The advertiser must use those IPs to send the conversion, otherwise it will be rejected by the system. For the rejected conversions, select “IP not Whitelisted” in Conversion Report -> Status Remark, and click "Generate Report", you can find the conversions that were rejected by the system because it did not use the whitelisted IPs.
No: No whitelisted IPs required. |
| Click Signing | Appsflyer's Click Signing feature. Learn more. |
-
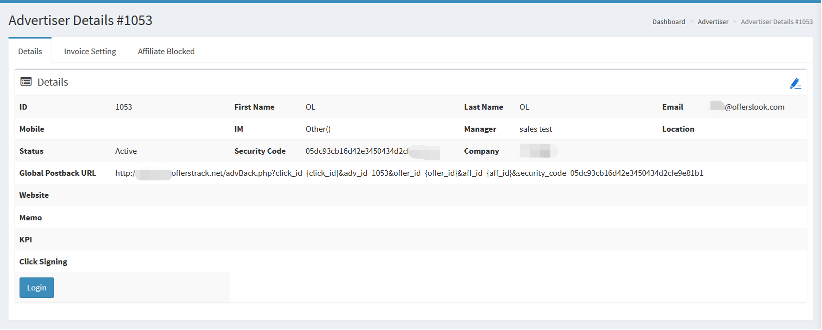
Advertiser Details
After Advertiser is created, you can view the details.
| Field name | Explanation |
| Global Postback URL | When an advertiser is created, the system will automatically generate a Global Postback Url. |
-
Invoice Setting
The setting of the advertiser invoice will appear in Billing-Advertiser Invoice after it is automatically generated.
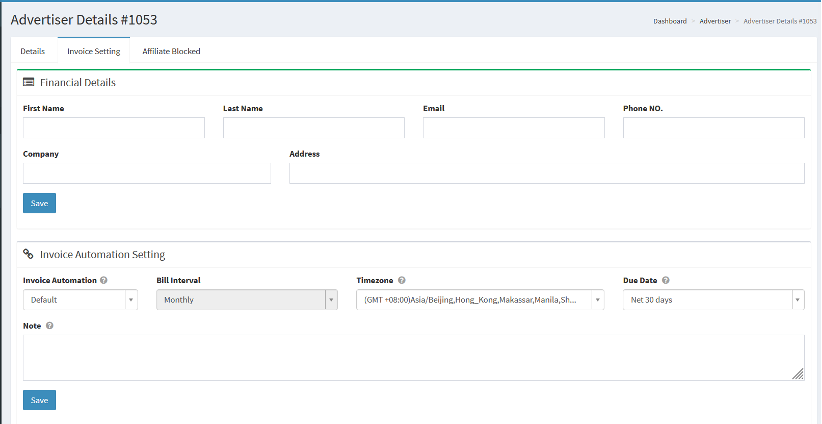
| Field name | Explanation |
| First Name | The advertiser's first name. |
| Last Name | The advertiser's last name. |
| The advertiser's email address. | |
| Phone NO. | The mobile phone number of the advertiser |
| Company | The advertiser's company. |
| Address | The address of the advertiser. |
| Invoice Automation | There are three statuses for automatic invoice generation: default, enable, disable.
Default: The default state of the system settings Enable: Needs to be generated automatically Disable: Automatic generation is not required |
| Bill Interval | The time when the system automatically generates the bill (the function that appears only choose Enable), for example, every month. |
| Time Zone | The timezone of the invoices. |
| Due Date | The advertiser's payment due date, e.g. within seven days. |
| Note | Notes for advertiser which will be displayed in the invoice. |
-
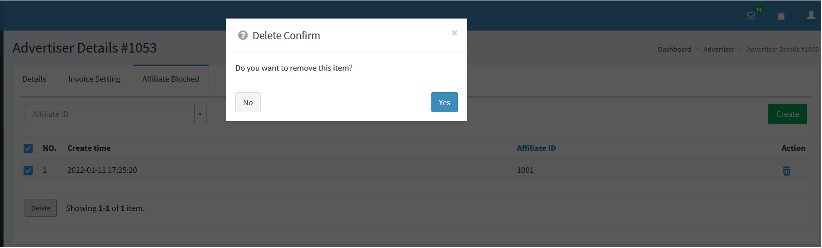
Affiliate Blocked
The advertiser needs to set the affiliates to be blocked, and the blocked affiliates don't have the access to the advertiser and its offers.
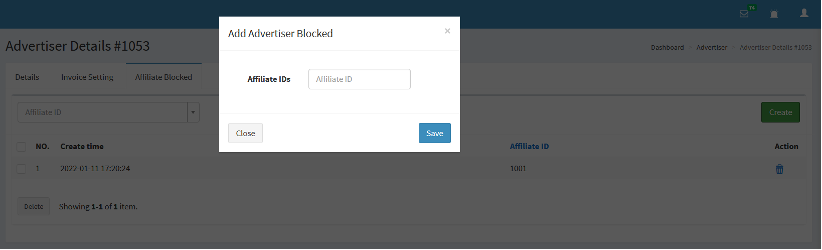
Click “Create”, fill in the Affiliate ID to be blocked.
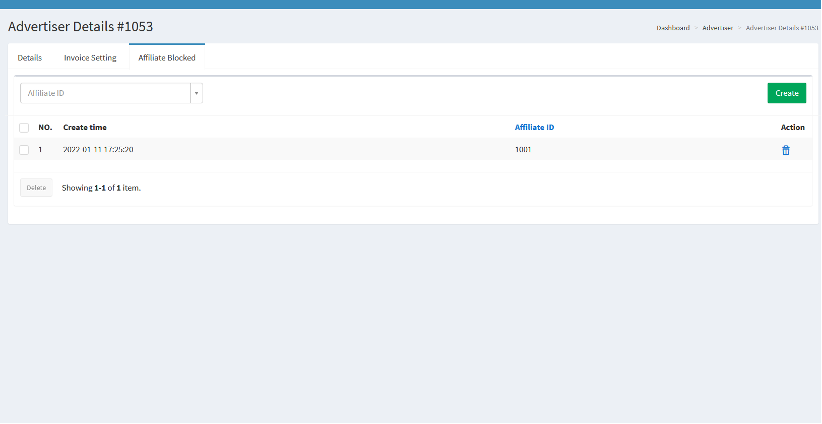
If the affiliate does not need to be blocked, check the affiliate and click “Delete” to delete it.